Last updated: November 19, 2026
Quick Answer: How to Set Up a Two-Checking-Account System for a Single-Parent Household starts with 2 checking accounts—one for bills and one for day-to-day spending—so rent, utilities, daycare, groceries, and school costs stop competing in the same pile of money. The setup is simple: route income into the bills account first, then move a set amount into the spending account on a fixed schedule.
What the two-account system does for a single parent
A two-checking-account system for a single-parent household separates “must pay” money from “can spend now” money, and that split makes cash flow easier to manage when your schedule changes every week. The bills account holds the money that must be there for fixed obligations; the spending account covers gas, food, small household buys, and everything that gets used up between paydays.
This is not a magic fix for a tight income. It works best when the challenge is timing, not math: for example, your paycheck lands on Friday but the electric bill drafts on Monday, or child-care fees hit before your next deposit. It is less useful if your income is too low to cover the basics at all, because separate accounts do not create extra money.
The setup also helps reduce mental load. Instead of checking one balance and trying to remember what is already spoken for, you can look at the bills account and know what is reserved. Many single parents like that clarity because it cuts down on accidental overspending during a rushed week.
Use a checking account for both sides of the system. A savings account can still matter for emergencies, but this page is about the operational split between two checking accounts. That means you can pay bills electronically, use a debit card where needed, and move money quickly without waiting days for transfers.
If cash flow timing is the real problem, this two-checking-account system for a single-parent household pairs well with broader income-stability and cash-flow timing guidance on this site. The goal here is narrower: one account to protect obligations, one account to make daily life easier.
How do I set up the bills account?

You set up the bills account by making it the home for fixed expenses and giving it first claim on every paycheck. Think of it as the account that protects rent, utilities, child care, phone service, insurance, and any other bill with a date on it.
Start with a checking account that allows direct deposit and easy transfers. If your current bank charges monthly maintenance fees, ask whether they can be waived with direct deposit or a minimum balance; many banks and credit unions have those rules. The exact threshold varies, so read the account terms before you switch. See the Consumer Financial Protection Bureau for account-fee questions and bank-account basics: https://www.consumerfinance.gov/consumer-tools/bank-accounts/
Then list every fixed bill and decide which ones will be paid from this account. A useful rule is to include expenses that are due on a calendar date or auto-drafted. For a single-parent household, that usually means housing, utilities, internet, child care, transportation, and debt payments. Put the payment dates beside each item so you can see what has to clear in the next 7, 14, and 30 days.
After that, turn on direct deposit so income lands here first. If your employer splits deposits, send the main deposit to the bills account and route the rest only after the fixed costs are covered. If your payroll system does not allow split deposits, deposit everything here and transfer money out on your own schedule.
A simple rule is to keep enough in this account to cover the next cycle of fixed bills. That does not mean extra cash forever; it means the account should usually be able to absorb the next round of drafts without stress. If your bills total $2,300 across the month, the account should not drift far below the amount needed for the next bills due before the next paycheck.
One practical caution: do not link the bills account’s debit card to stores you visit often. If the card is too easy to use, the account stops acting like a barrier and starts acting like ordinary spending money.
How to set up the spending account rules
The spending account works best when it has one job: cover ordinary daily use without reaching into bill money. That means the rules must be plain enough to follow on a rough Tuesday, not just on a calm Sunday night.
First, decide what belongs here. A good default is groceries, coffee, school snacks, one-off kid expenses, fuel, small pharmacy buys, and cash-like purchases that do not belong in the bills account. If an expense repeats every month and can be scheduled, it usually belongs in the bills account instead.
Next, set a transfer amount that matches your real week, not your ideal one. A fixed weekly transfer works better than a vague “as needed” move because it gives the account a job and a limit. If your pay cycle is biweekly, many parents prefer a transfer every payday; if it is weekly, a Friday transfer is easier to remember than three separate moves.
Use a debit card tied only to this account for day-to-day purchases. That keeps your shopping from touching reserved money. If you share a card with a spouse, partner, or adult child, stop doing that for this system; the whole point is to create a clean boundary.
Set one spending rule that is simple enough to stick to for 30 days. Examples: no nonessential purchases after the weekly transfer runs low, or no debit card use from the bills account at all. The rule is not about perfection; it is about making overspending obvious before it grows into a fee.
The biggest mistake here is treating the spending account as a second general fund. That creates the same problem you started with, only with more accounts and more confusion. If the account is empty before the next transfer, do not refill it casually from bills money unless it is a true emergency; if you are unsure how to set the boundary, a nonprofit credit counselor or certified financial counselor can help you tailor the account split to your household. See the National Foundation for Credit Counseling: https://www.nfcc.org/
The transfer timing that keeps both accounts stable
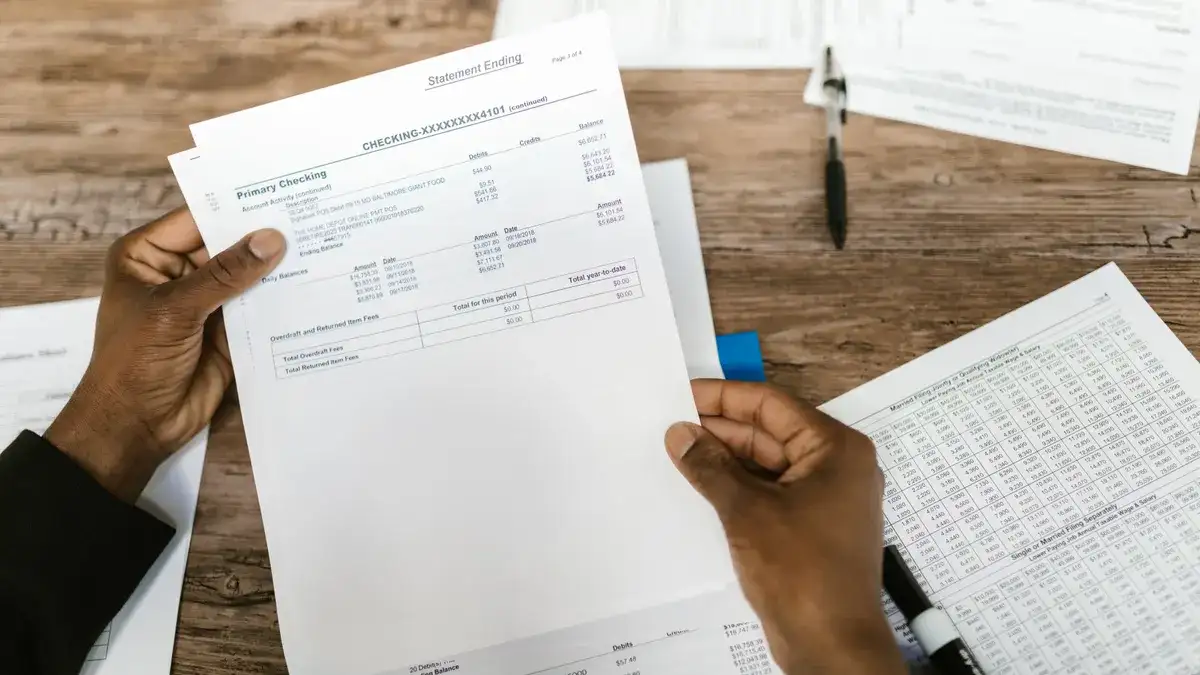
The transfer timing is the part that makes the system work, because money needs to move before the bills hit, not after the balance is already thin. A good transfer schedule follows your paydays and the due dates on your calendar, not the end of the month.
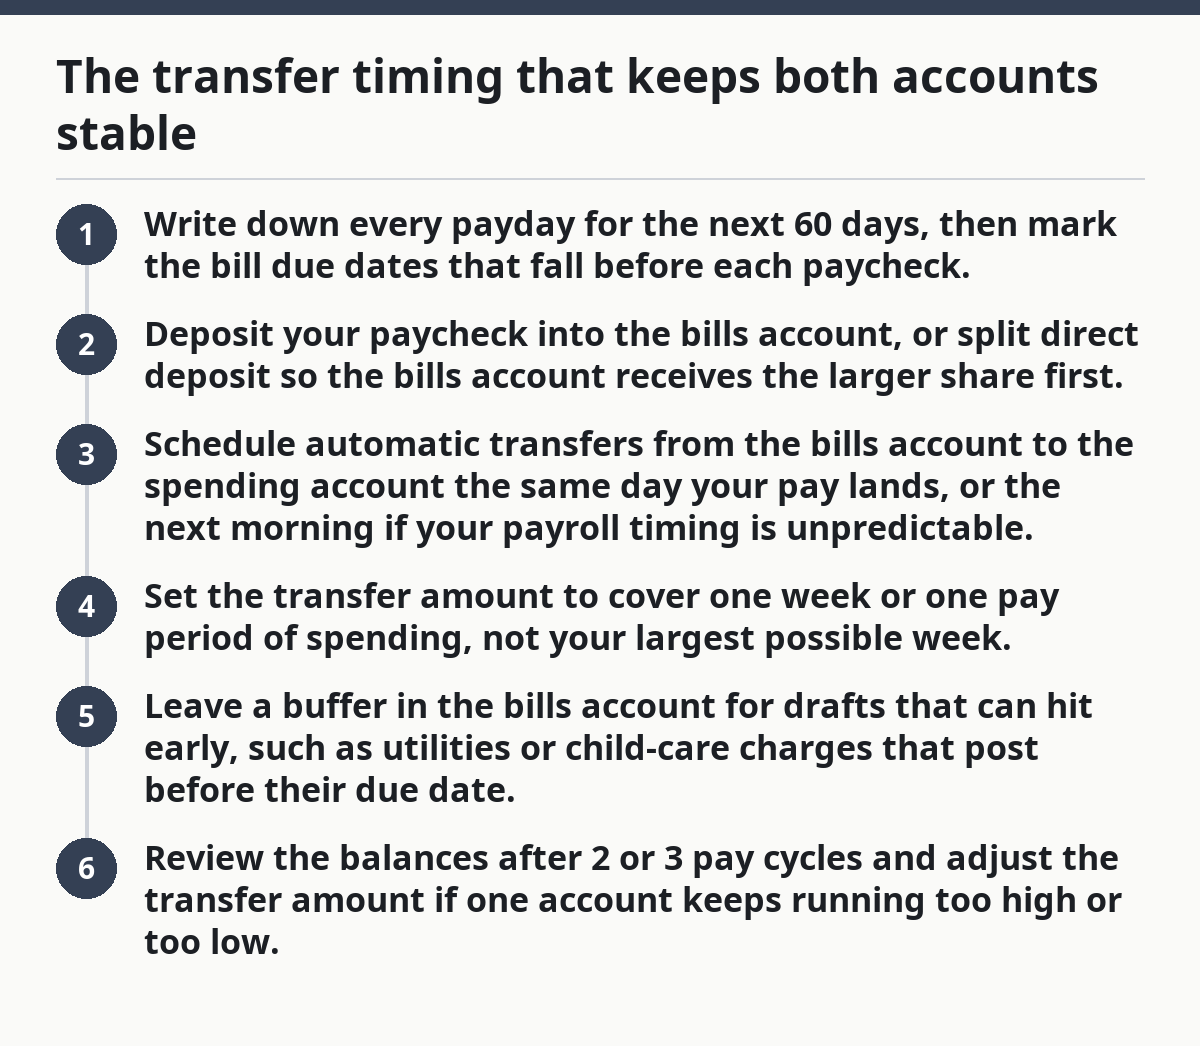
Here is a simple setup process:
- Write down every payday for the next 60 days, then mark the bill due dates that fall before each paycheck.
- Deposit your paycheck into the bills account, or split direct deposit so the bills account receives the larger share first.
- Schedule automatic transfers from the bills account to the spending account the same day your pay lands, or the next morning if your payroll timing is unpredictable.
- Set the transfer amount to cover one week or one pay period of spending, not your largest possible week.
- Leave a buffer in the bills account for drafts that can hit early, such as utilities or child-care charges that post before their due date.
- Review the balances after 2 or 3 pay cycles and adjust the transfer amount if one account keeps running too high or too low.
The timing should be boring. If you have to guess every week, the system is too loose. If you get paid every other Friday, one transfer every other Friday is easier to manage than three scattered moves across the month.
One useful pattern is “payday first, spending second.” That means fixed bills are protected before any shopping money leaves the account. Another pattern is “bills first, float second,” where you leave a small cushion in the bills account and move the rest to spending after the necessary drafts are covered. Either can work; the wrong version is the one that empties the bills account too quickly.
A realistic buffer matters because some transactions post differently than others, including debit card holds, automatic utility drafts, and school fees. Leave enough room so one delayed posting does not trigger an overdraft fee. The Consumer Financial Protection Bureau’s guidance on overdraft and bank-account fees can help you compare policies: https://www.consumerfinance.gov/consumer-tools/bank-accounts/
What should the day-to-day money flow look like?
The day-to-day flow should be predictable enough that you can explain it in one sentence: income enters the bills account, fixed bills stay there, and only the spending amount moves to the spending account. That simple loop is the point of the system.
Use direct deposit as the first step whenever possible. If your employer or benefits payer offers split deposit, place the larger share in the bills account and a smaller share in the spending account only if it truly helps with timing. For many single parents, putting all income in the bills account first is cleaner, because it guarantees the essentials get paid before discretionary spending starts.
Automation helps when life is crowded. Set automatic transfers for the same day as payday, and set autopay for fixed bills that have stable amounts. For variable bills, such as utilities, leave enough in the bills account and pay them manually if that gives you better control. The goal is to reduce the number of decisions, not to automate everything blindly.
Keep the spending account visible in your banking app, but do not treat the balance as available for bills. If a purchase would leave the account too low for the rest of the week, stop there. That pause is where the system saves you money; if you are unsure what amount is safe to spend, consider checking with a banker or financial counselor before changing your transfer rule.
A good operational standard is to check both balances at least once a week, and more often if you are in a high-expense period such as back-to-school month or a holiday week. You do not need a full budgeting method to do that. You only need to know whether the bills account still covers the next draft and whether the spending account still covers the next few days.
For many single parents, the hard part is not making a plan; it is keeping the plan from being ruined by one surprise. This setup gives surprise expenses a place to land without letting them eat rent money.
Mistakes that break the system, and how to avoid them
The most common mistake is putting too much into the spending account. That feels safe for a few days, then turns into drift. The cost is usually one of two things: the bills account runs short before the next draft, or the spending account becomes an informal extra checking account and the system loses its separation. The fix is to cap the transfer at a known weekly or per-pay amount and raise it only after 2 or 3 full cycles.
A second mistake is paying fixed bills from the spending account “just this once.” That one exception can unravel the whole system because it destroys the boundary between reserved money and usable money. The better move is to keep all recurring bills tied to the bills account, even if that means updating a few autopays.
A third mistake is forgetting timing. If rent drafts on the 1st and your paycheck lands on the 2nd, the system must account for the gap. The cost is avoidable overdraft fees or late payments. The fix is to keep enough money in the bills account to cover at least the next due date before the paycheck arrives, or to change due dates where the biller allows it.
A fourth mistake is using the debit card linked to the bills account for impulse buys. That can be expensive because it puts reserve money in the path of a tired decision at 6:00 p.m. after pickup. Use the spending account card for daily purchases and keep the bills card out of your wallet if that helps.
This system is not a fit for someone whose income changes wildly from week to week and who cannot predict the next deposit with any confidence. In that case, separate accounts may still help, but only if there is enough money flow to assign roles to each account. If the cash coming in is too irregular, a professional financial counselor or nonprofit credit counselor may help you map a safer setup.
A simple setup you can copy this week
You can set up the whole system in one hour if you keep the rules plain. Open or repurpose two checking accounts, name one “Bills” and the other “Spending” in your banking app if the bank allows labels, and connect direct deposit to the bills account first.
Then do three things in order. First, move every fixed bill to the bills account. Second, schedule an automatic transfer from bills to spending on payday. Third, decide exactly which purchases belong in the spending account and which never should. That gives you a system you can actually use on a school night, not just admire on paper.
A clean version often looks like this: bills account receives the paycheck, fixed bills draft from that account, and $200 or $300 moves to spending each week if that fits the household’s real pattern. The exact amount depends on your income and obligations; the point is not the number itself but the consistency of the move. If the amount changes often, the system gets harder to trust.
Use this as your test for the first month: if you can tell, within 10 seconds, which account pays the next bill and which account handles groceries, the setup is working. If you cannot, the labels or the transfer schedule are too vague.
Key Takeaways
- Two checking accounts work best when one is reserved for fixed bills and the other is for day-to-day purchases.
- Direct deposit should hit the bills account first so rent, utilities, child care, and other required payments are protected.
- Automatic transfers work better than ad hoc moves because they match payday timing and reduce guesswork.
- The spending account needs clear rules or it turns into a second general fund.
- This system helps most when cash flow timing is the problem; it is not a cure for income that is too low to cover essentials.
Should I keep bills and spending money in separate accounts?
Yes, if your problem is mixing money that needs to stay available for bills with money that gets used during the week. Separate checking accounts make the boundary visible, which is useful when your schedule is packed and your paydays do not line up neatly with due dates. If your income is too irregular to assign clear roles, the split may be harder to maintain.
How many bank accounts should a single parent have?
Two checking accounts are enough for this system, and a savings account can sit beside them if you want an emergency cushion. More accounts can create more confusion if each one has the same purpose. Start with the two checking accounts first, then add another account only if it has a clearly different job.
Drafted with AI; not yet reviewed by a person.